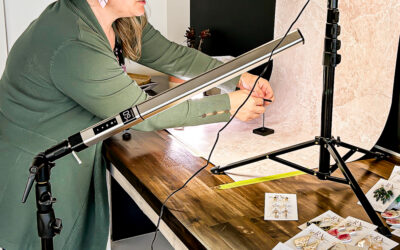
Ever since I started teaching iPhone photography, I’ve been making a habit out of printing more of my photos taken on my iPhone. In our household, the photos that are printed are the ones we look at, remember and cherish the most, so I’ve made it a habit to print all our best memories on a consistent basis.
But what about decorative or artistic photos? When out for a run one day, I pulled my iPhone out of my sweaty pocket and took a shot of an interesting green plant on my run path. It was a spur of the moment snapshot, but I ended up loving it so much that I printed greeting cards out of the photo.
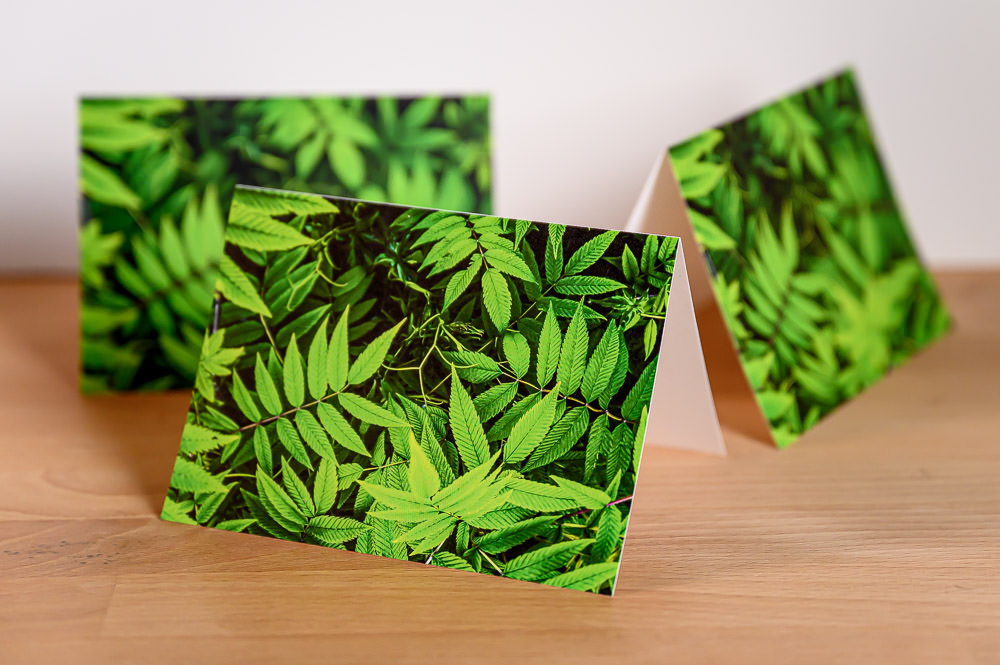
The results were stunning!
Turns out, the iPhone camera is pretty good at capturing detail and colour, and especially after editing it in Lightroom mobile, the files turn out amazing when printed at a professional photo lab.
Now that I have the Canon Pro-300 printer in my studio, I’m printing more and more of my iPhone photos and loving it.
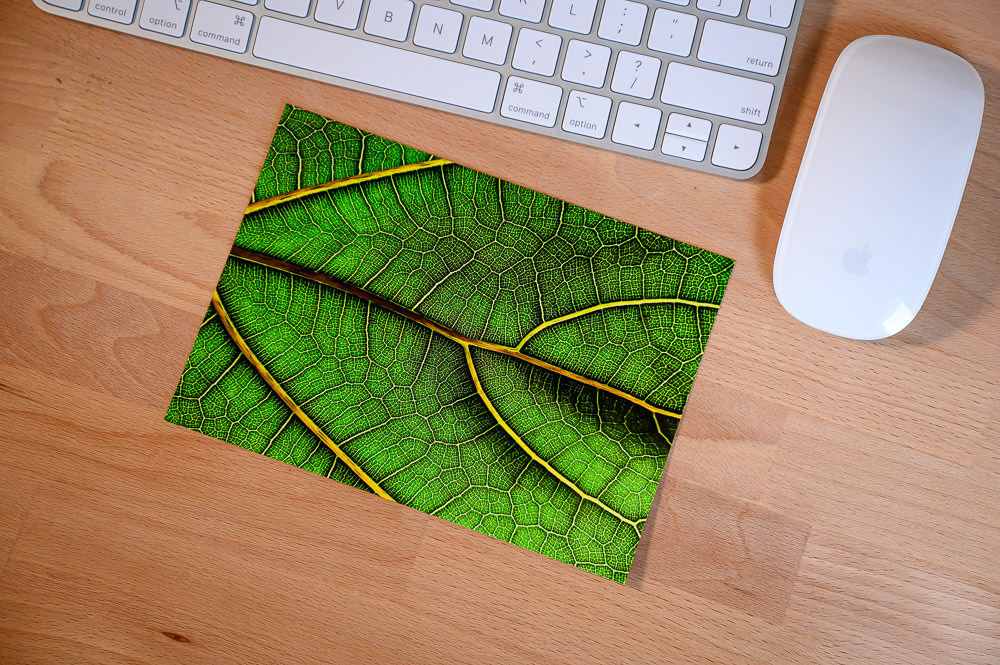
This is a 5×7 print of an iPhone photo I took of a leaf on my fiddle leaf tree in my dining room. I didn’t use any special lighting or fancy cameras – just my iPhone 14 camera. I edited it in Lightroom Mobile and printed it on my Canon Pro-300 printer in my studio.
This is encouragement to you: even mundane objects in your home are worthy of being photographed and turned into prints!
To print your photos from your iPhone, follow these easy steps:
- Download and install Lightroom Mobile on your phone. It’s free and it’s what all the professionals use. (you can pay for premium features, which I do, but for most beginner photographers, the free version will do.)
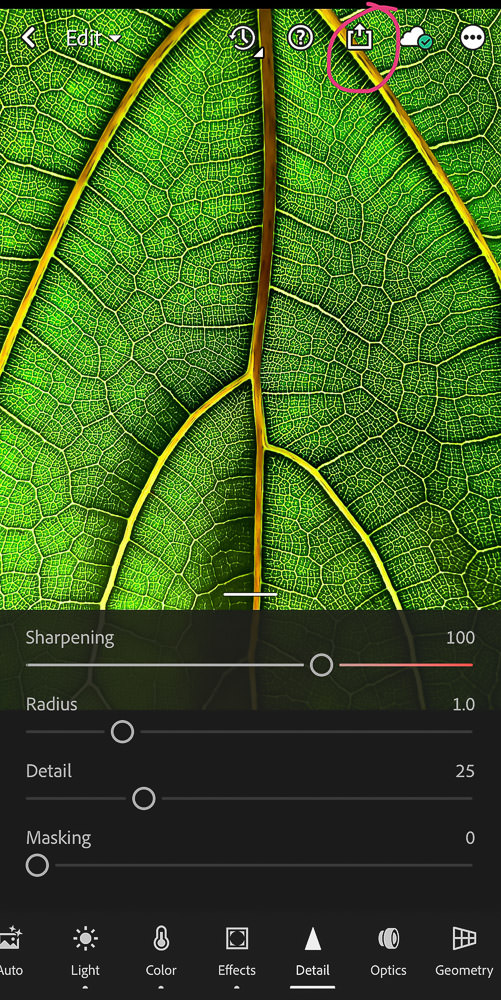
- Give your photo some basic editing in Lightroom Mobile. I suggest adjusting the Exposure, Contrast, increasing the Texture and Clarity a bit and tweaking the temperature sliders to get the proper colouring. Next, add some sharpening (+100) and noise reduction (+65) to clean up and sharpen your photo before printing.
- Next, click on the export icon at the top of the photo.
4. Click on “Export as…”
5. Select File Type: JPG, Dimension: Largest available dimensions, Image quality: 100%, then click the check mark in the top right corner to export your photo.
6. On the next screen that appears, choose where to save your image. Click on “Save Image” and it will save it in your Photos app on your iPhone. Or if you have a printer at home, click on “Print” to send it to your printer.
7. If you aren’t printing it at home, go to a photo lab’s website, and select this high-res jpg from your Photos app to upload and have printed.
The JPG you just exported from Lightroom is now a high resolution file that is ready to be printed in any format, including extra large prints.
I created a few videos to show you how I photographed this leaf with my iPhone 14 and how I printed it at home:
If you don’t have a professional photo printer at home, I recommend using PosterJack.ca. It’s a Canadian photo printing lab, and my go-to for printing my iPhone photos. Their products are amazing. As a professional photographer, I’m quite picky when it comes to prints, and after trying different labs, this one became my first choice for making prints of my iPhone photos.
I love their Softcover Photo Books for my annual family photo albums, and I’m also crazy about their peel & stick prints. Check these out:
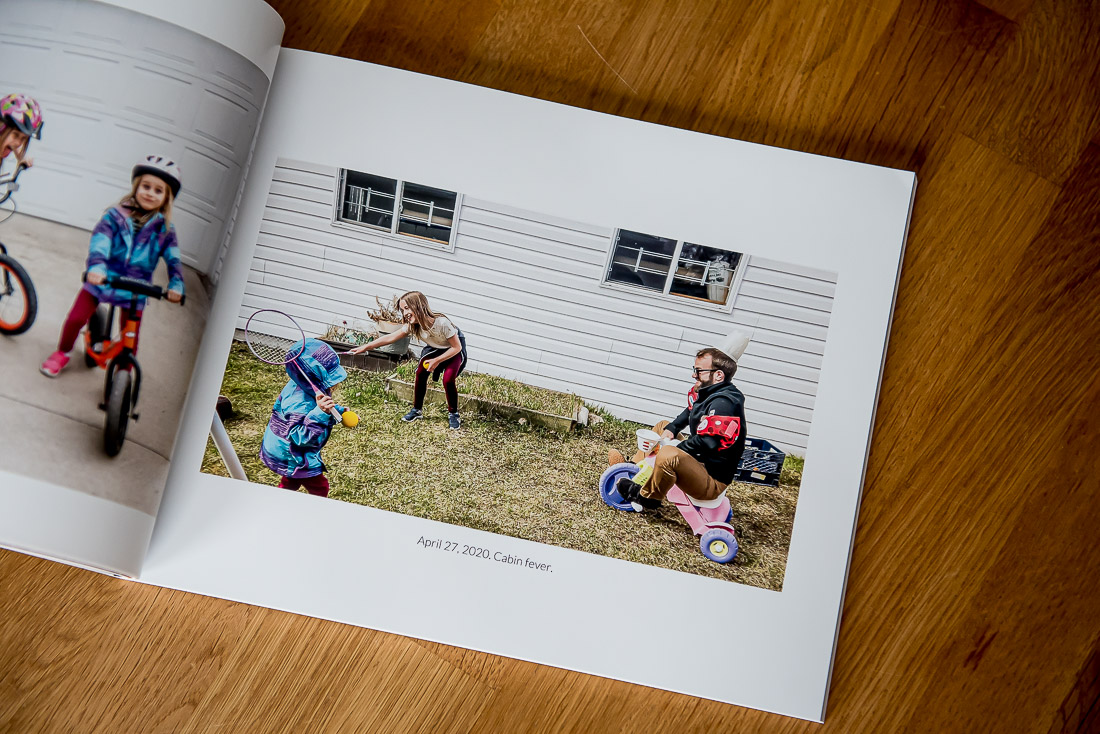
During the first pandemic lockdown of April 2020, I captured lots of everyday moments with my iPhone and printed it into a photo book for my family. This is the best way to document your story and to look back at memories from the past.
I don’t often share affiliate links, but when I do it’s for products that I love and use often. My annual iPhone family photo books and Peel & Stick photos are always printed at PosterJack. It’s my favourite way of preserving my iPhone photos. –>Use this link to get 20% off your order.
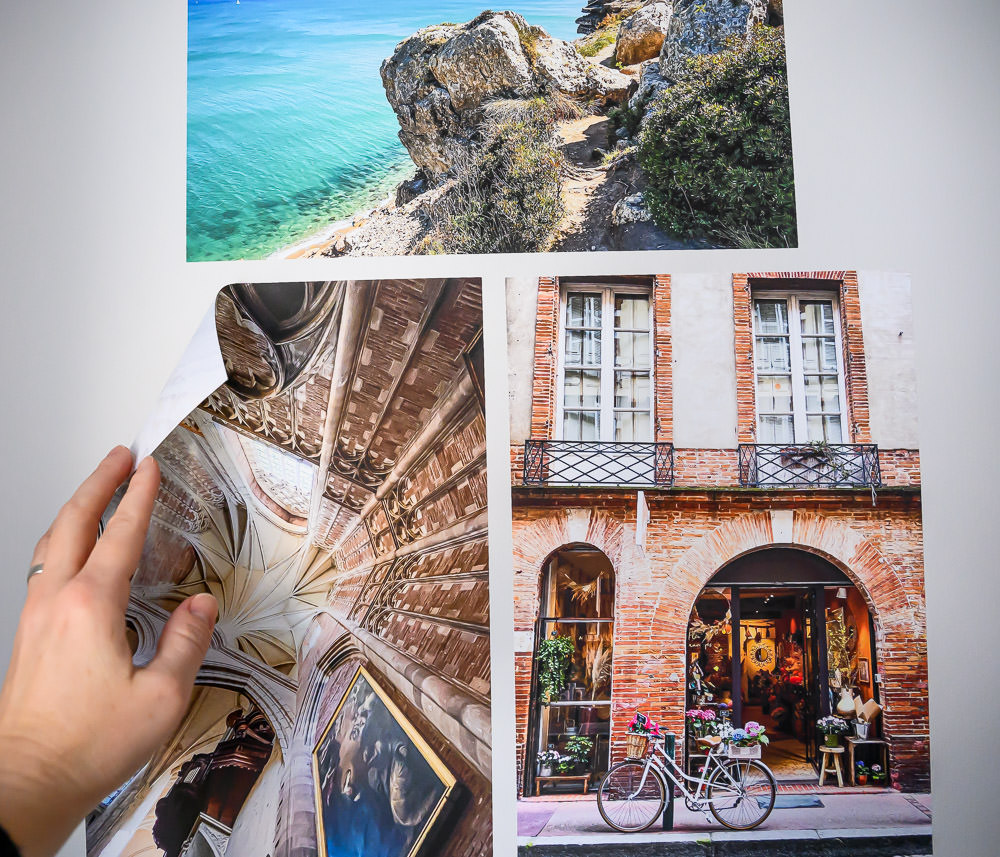
These are Peel & Stick prints from photos I took with my iPhone 13 mini in France. They look amazing, and they’re easy to peel off the wall and re-stick.
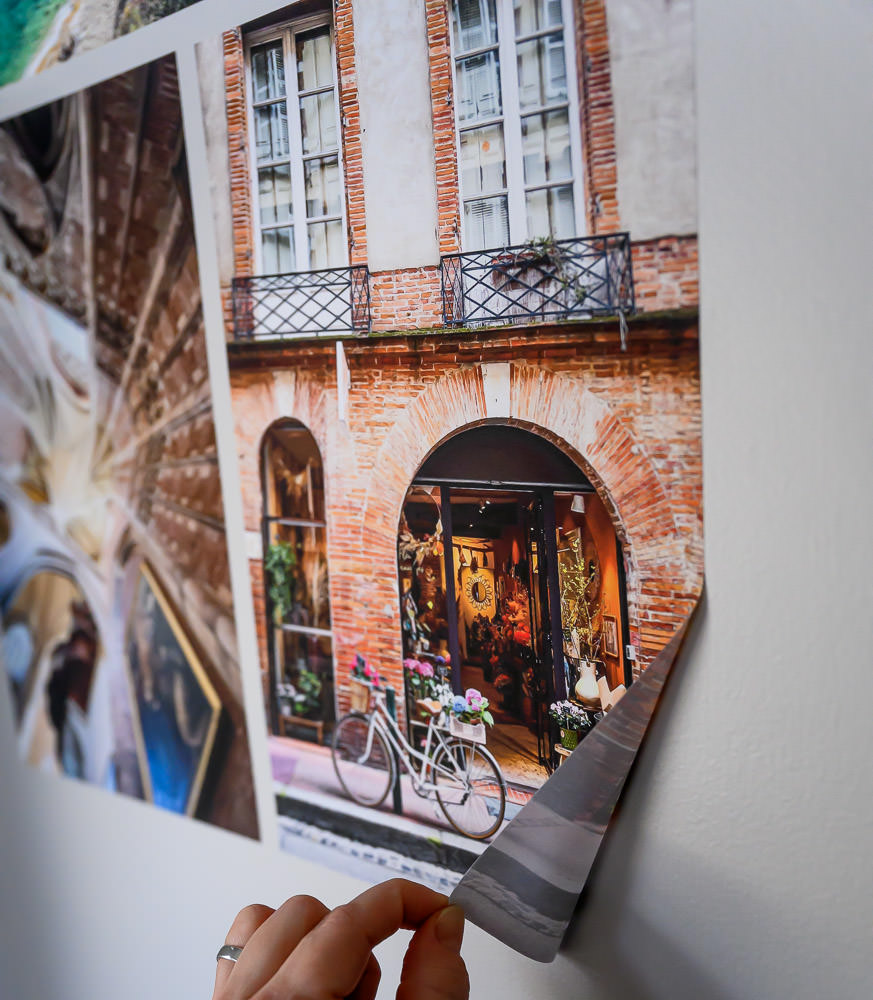
I hope this got you excited about getting those photos off your phone and printed into real-life photos that you can display on your shelf and your walls at home!
Ready to learn more? Improve your photos in one hour:

