Let’s talk about lighting for food photography.
Most of us use natural window light when taking food photos in our kitchens with our phone cameras.
Window light can be limiting and very hard to master. Let’s face it, a lot of professional food photographers use studio lights to get maximum control. That’s how their photos turn out perfect.
But with these next tips, you can get maximum control with just window light in your kitchen.
Without studio lights.
Let’s start with this basic (but super important) trick:
Controlling the direction and quality of your light.
Look at these two photos.
Photo #1 (soft, ambient light):
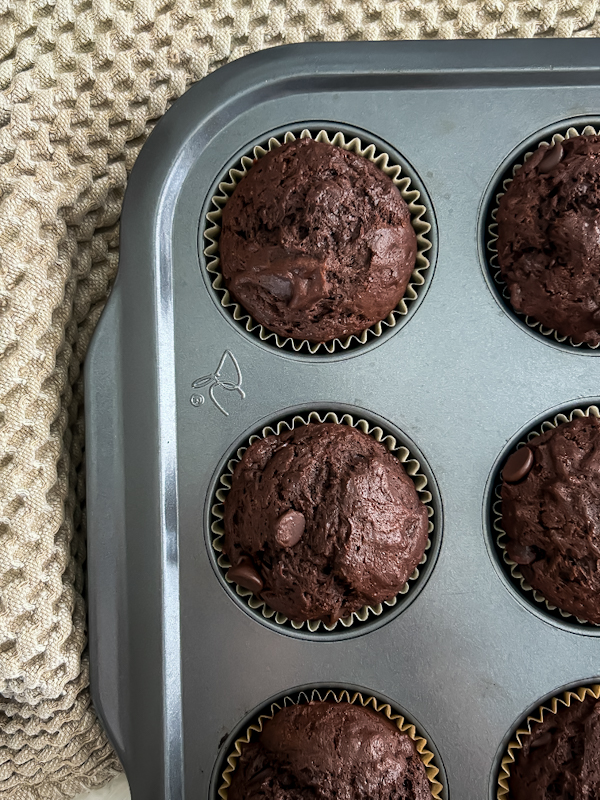
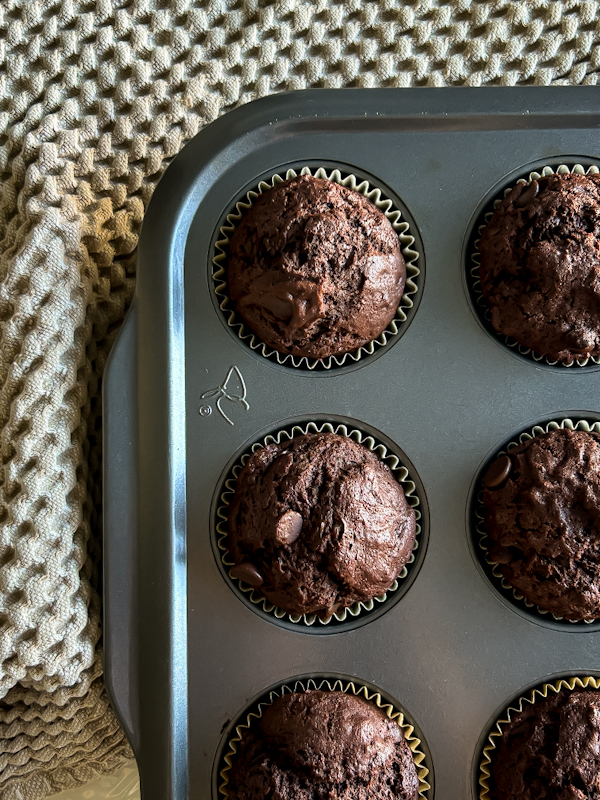
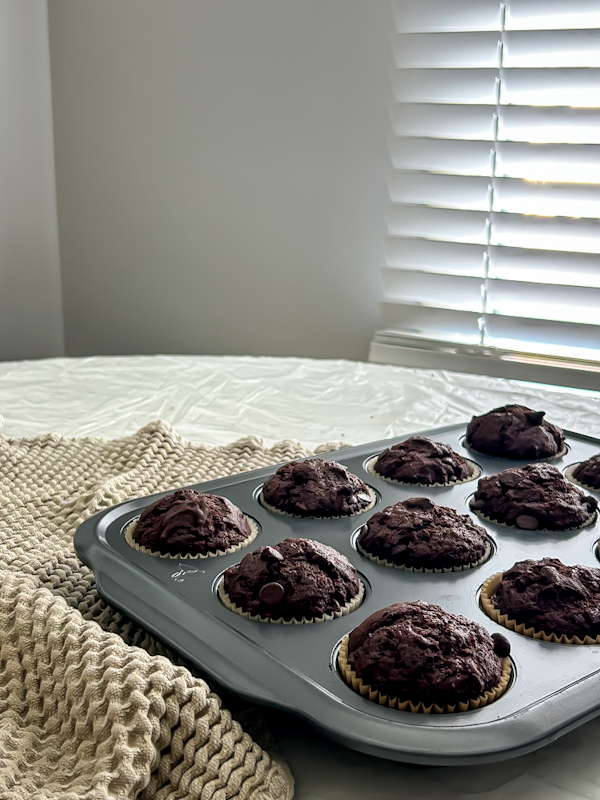
Photo #2 (hard, side light):
Do you notice the difference?
In Photo #2, the muffins look more textured and crunchy because the light is mostly coming from the right side at a brighter, more direct intensity.
But in Photo #1, the lighting is soft and spread evenly throughout the room, creating a more neutral, ambient light on the muffins. This makes the muffins look softer and the subtle details are more visible.
Is one lighting better than the other?
Not necessarily. It all depends on how you want to showcase your food in your photos! If you wanted the muffins to look really crunchy and textured, you’d pick lighting #2. But if you wanted the muffins to look soft, you’d pick lighting #1.
The important thing is that you know how to control your available light so that you can control the look of your food photos.
How to get Photo #1 lighting (soft, ambient):
To get soft, ambient light, I closed the blinds and pointed the slats up so that the natural window light would be diffused and pushed up towards my white ceiling. This muted the light and made it softer. ↑
How to get Photo #2 lighting (hard, high contrast):
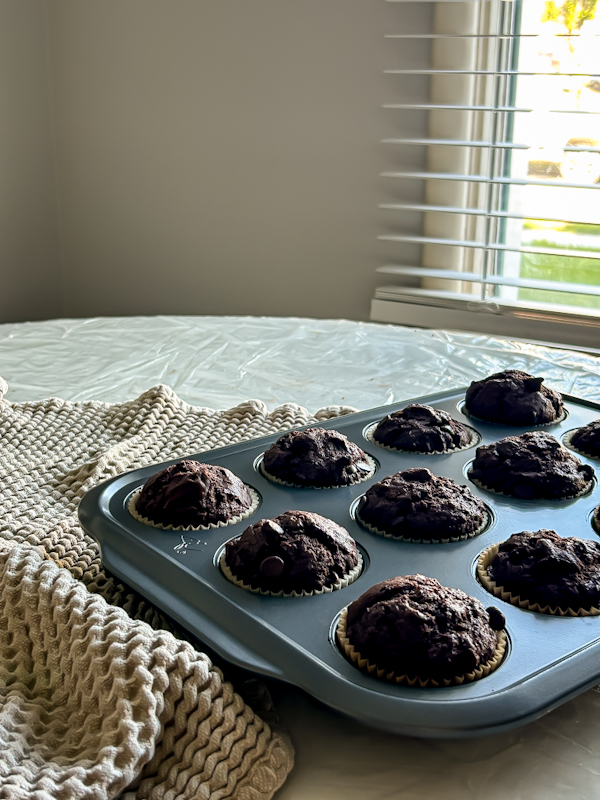
To amplify the texture and boost the contrast on my muffins, I opened the blinds so that the window light would mostly be coming in from the side of the room. This creates a bright side (on the right of the muffins) and a strong shadow side (on the left of the muffins).↑
So remember:
→ close the blinds, diffuse the light, for a softer look.
→ open the blinds, get bright side light for a crunchier, high contrast look.
Looking to go deeper? Access my online photography courses here:

___________________________________________________________
Now that you have all the lighting tips for your next food photo shoot, I can’t leave you without giving you the recipe for these delicious double chocolate muffins!
(and guess what: they’re egg-free and dairy-free!)
Gabrielle’s Double Chocolate Muffins
1.5 cups of white flour
3/4 cup white sugar
1/2 cup cocoa powder
2 teaspoons of baking powder
a pinch of salt
1/2 cup vegetable oil (I used olive)
2 tablespoons of Bob’s Red Mill Egg Replacer + 1/4 cup of water
3/4 cup oat milk
1 teaspoon of vanilla
1/2 cup chocolate chips
Mix the flour, sugar, cocoa, baking powder and salt in a small bowl.
In a larger bowl, mix the egg replacer with 1/4 cup of water until well combined and lumps are gone. Add the oil, oat milk and vanilla. Mix well.
Add the dry ingredients into the wet ingredients. Mix until fully incorporated, then add the chocolate chips.
Pour into muffin tin (lined with non-stick baking cups or greased with margarine).
Bake at 375ºF for 24 minutes.
Makes 12 very delicious muffins.