What do professional photographers choose, RAW or JPG?
When professional photographers use DSLR or mirrorless cameras, they shoot in RAW format, rather than JPG. RAW images capture more detail and data, making them far superior to JPG images. The lighting, colour and range of tones comes out better.
On the other hand, shooting in JPG simplifies the visual data, and even removes subtle “in between” tones that help to bring depth and sophistication to a final photo. By shooting in JPG, the photographer leaves a lot on the table.
So why do professional cameras still have a JPG option?
The only reason anyone would shoot in JPG is because it takes up less space on a memory card, and you can transfer the JPG directly from the camera to a website or social media site without having to do any special converting. It’s quick to use, compatible everywhere and takes up less space.
But there is a huge trade-off when you shoot in JPG!
A JPG is like eating crackers and cheese when a RAW is like eating a gourmet meal at a 5-star Michelin restaurant. You get far more information and goodness from a RAW file.
The difference between both files may not be obvious until you’ve tasted a “better” meal (a RAW photo).
As you can see, it’s a no-brainer that professional photographers will always shoot in RAW. When you spend $10,000+ on a pro camera and lens kit, you want to maximize the camera’s abilities, so you shoot in RAW.
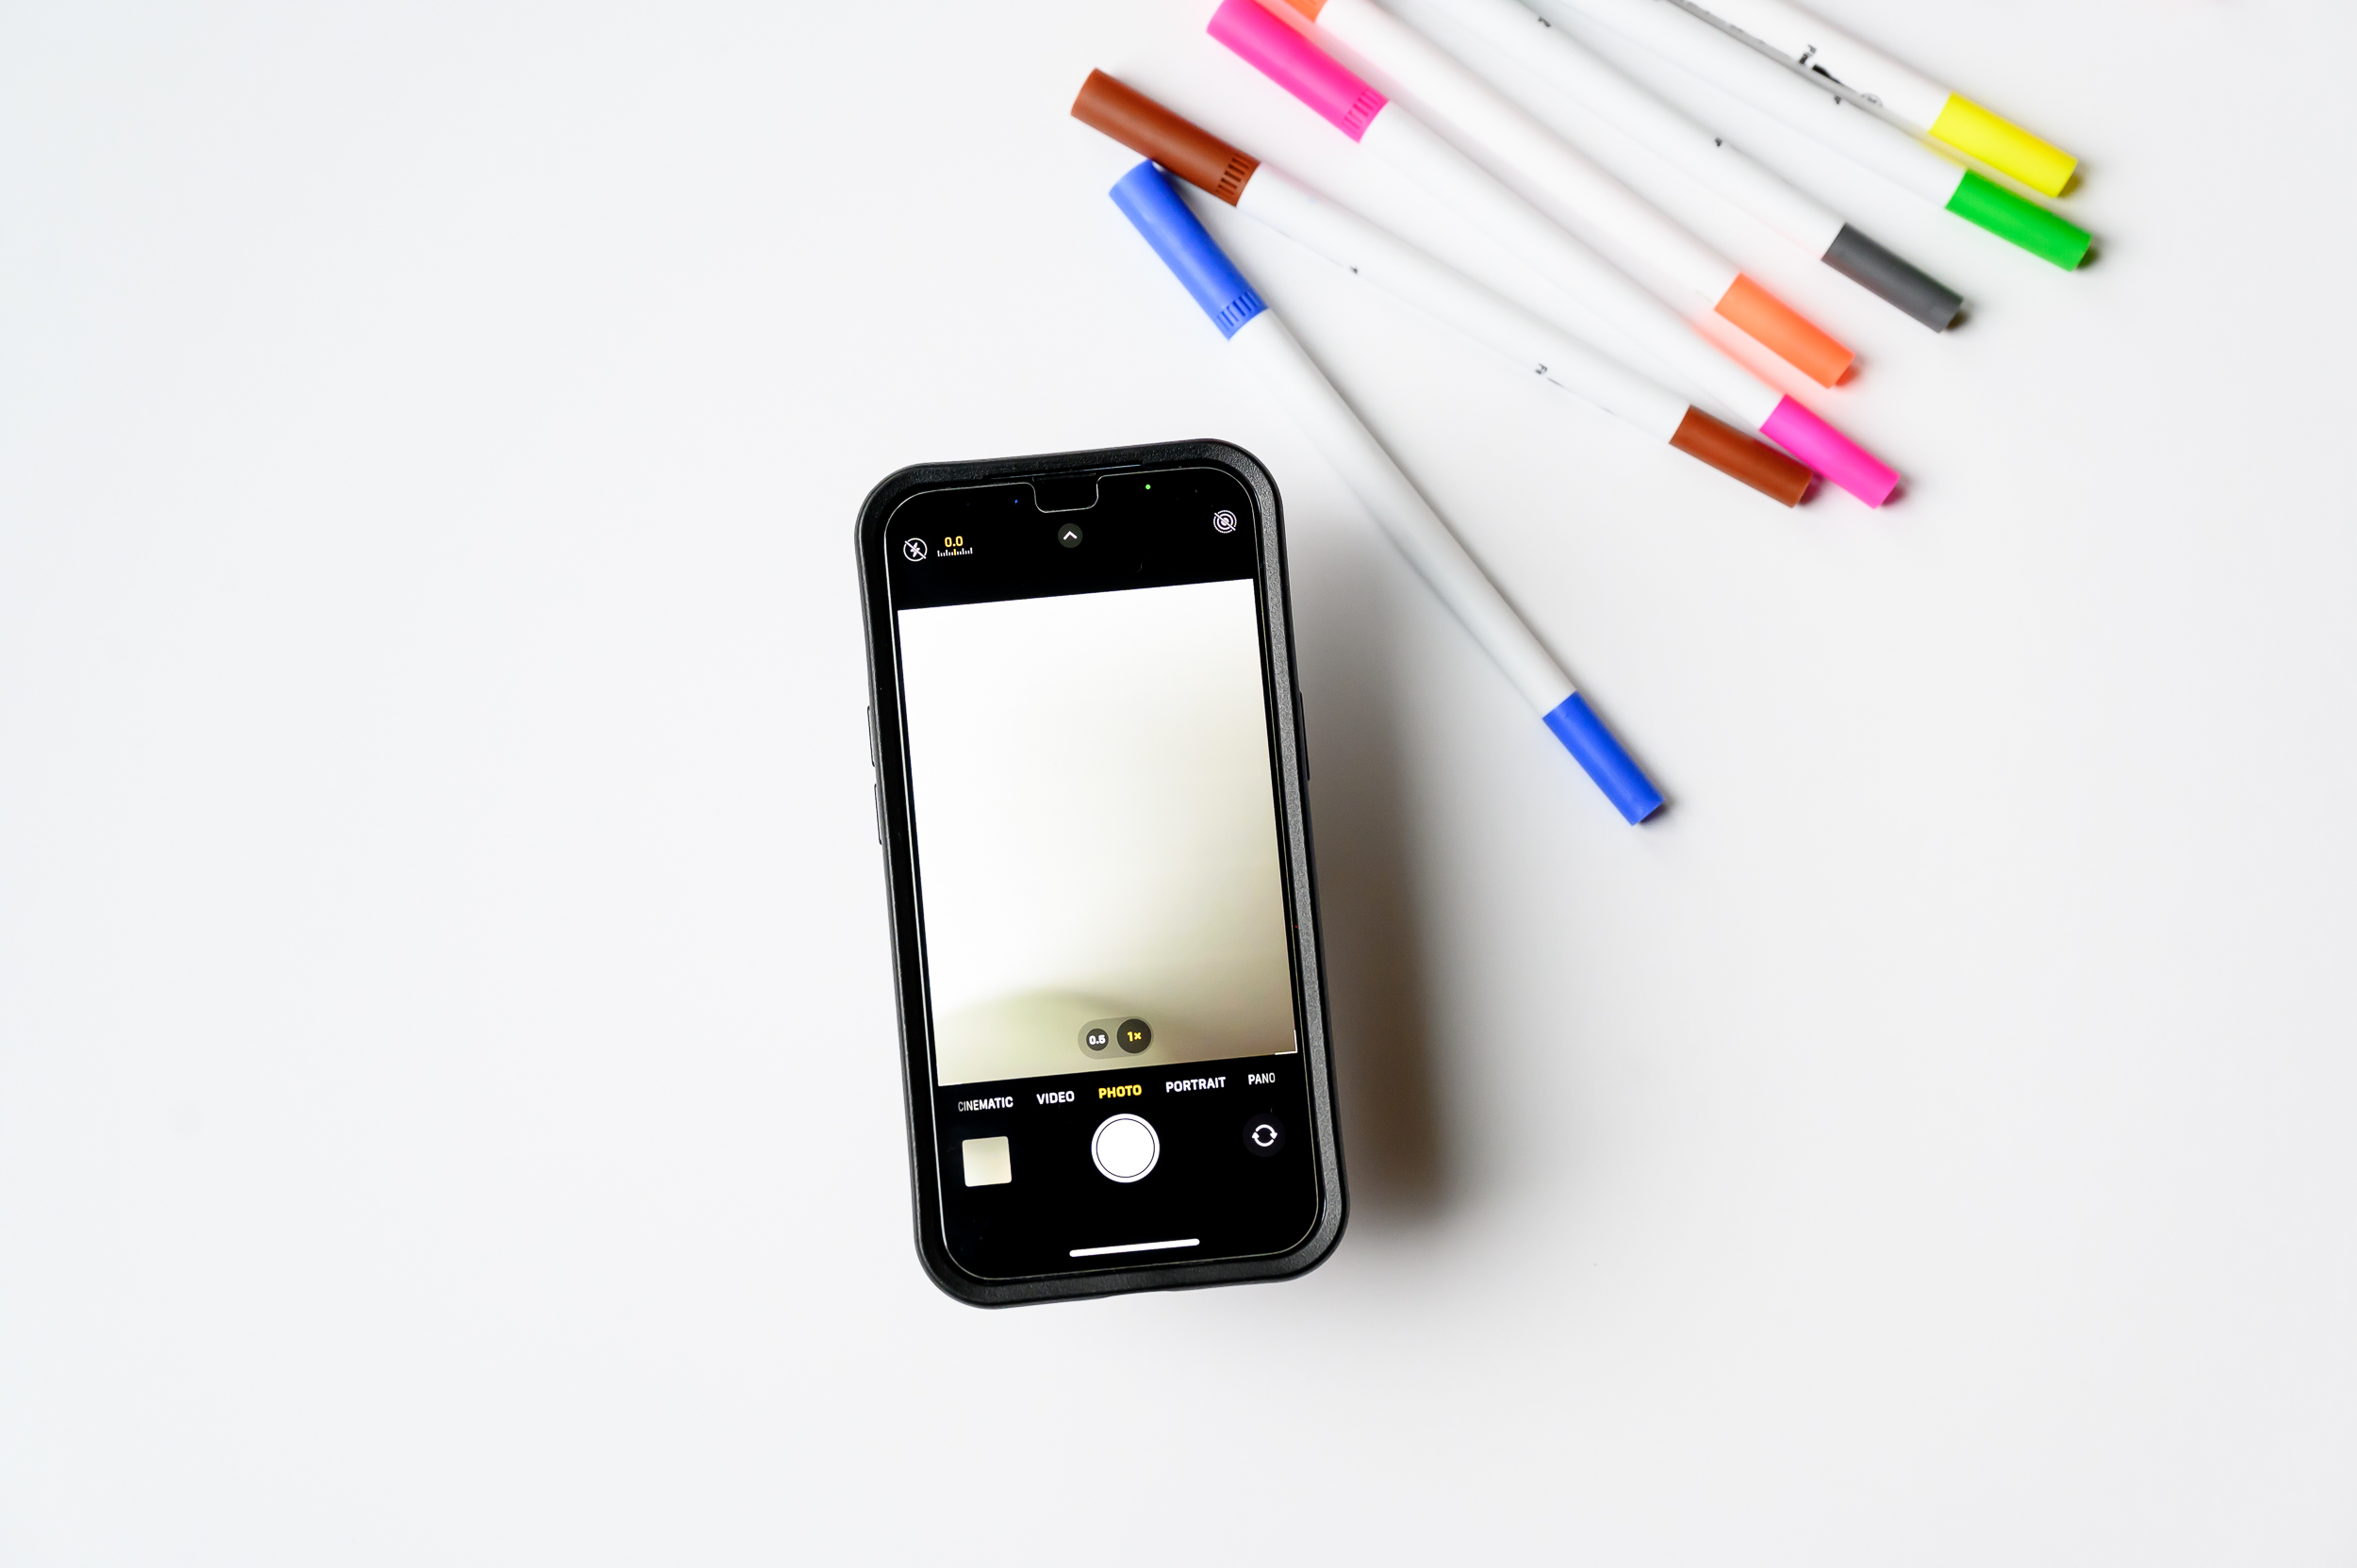
But what about RAW vs. JPG on an iPhone camera?
On the new iPhones, you have the option of three ProRAW formats:
|
|
1) ProRAW Format: JPEG Lossless (Most Compatible) – This one is the original JPEG lossless file. It’s huge and doesn’t contain as much data (HDR capabilities, range of tones) than the newer JPEG-XL options. Although it is still available for us to use, there is almost no reason why someone would still choose this option over the newer ProRAW formats.
2) ProRAW Format: JPEG-XL Lossless – This is a new and improved version of the ProRAW format option. It contains a huge amount of data, resulting in higher quality photos, but it does take up more space. Because it’s a newer file format, it is not compatible in a lot of places where you’d share photos. (It is accepted on Instagram though). That being said, when you shoot in RAW, generally you intend to edit it, and then export it as a new jpg, which then becomes universally compatible. So its defect of not being very compatible becomes a moot point. This is my preferred file format. Perfect quality, but it does take up more storage.
3) ProRAW Format: JPEG-XL Lossy – This is also a newer and better RAW format version like the one just above it, but it compresses the file data, taking up less space to store it. Keep in mind, this creates a lower quality image compared to JPEG-XL Lossless. It’s still a high quality file, but not as good as the JPEG-XL Lossless. The perk: it takes up less storage space.
So which iPhone RAW format should you choose?
Keep in mind: Lossless is better for editing, lossy is better for instant sharing.
Of all 3 iPhone RAW formats, I prefer using JPEG-XL Lossless.
I don’t share my RAW photos directly from my iPhone straight to a website or slideshow, so I don’t need to worry about Lossless not being highly compatible.
Now that we know the difference between the RAW file options on the iPhone, the big question is:
Why shoot in RAW and not in JPG on an iPhone?
|
|
When shooting in RAW on your phone, you will get a higher quality image.
It takes up more space, but you’ll get more tones, colours and detail.
But let me tell you a little secret:
I never shoot in RAW on my iPhone.
I just don’t see enough of an improvement in my iPhone RAW files compared to my iPhone JPG files, so I just stick to JPG.
The only time I would ever prefer to shoot in RAW on my iPhone is if my photo was taken in a dark, super low light setting and I needed to preserve as much detail and colour as possible.
When shooting in very dark, low light situations, shooting in RAW will allow you to fix the image in Lightroom without having the image degrade.
When an image is too dark, and you use extreme “fixes” in Lightroom to bring back colour, detail and brightness, a JPG image will never look as good in that situation.
Here’s an example of an underexposed (dark) scene in RAW vs JPG:
|
iPhone JPG photo:
|
iPhone RAW photo:
|
Notice:
- JPG is grainier
- JPG shows a rainbow of colours in the shadow area at the top of the photo
- RAW is less grainy
- RAW leaves the couch grey, without adding wacky colours.
It’s the same thing for overly bright situations.
If you shoot a super bright scene in JPG, fixing it in Lightroom will degrade the photo more than if you were working with a RAW.
Here’s an example of an overexposed (bright) scene in RAW vs JPG:
|
|
As you can see, the iPhone RAW holds up better than the iPhone JPG.
|
iPhone JPG:
|
iPhone RAW:
|
Notice:
- JPG has a rough finish
- JPG has harsh transitions between bright and dark
- JPG has a green tone, the original whiteness got stained
- RAW has a smooth finish
- RAW has a gentler transition between bright and dark
- RAW has a more neutral, clean white colour
Keep in mind:
The above example photos needed to be pushed to the extreme to see the quality difference between the JPG and RAW.
I don’t ever shoot in such extreme situations, and I don’t ever super-edit my photos in Lightroom to the point where they fall apart. If I did, I would definitely choose to shoot in RAW all the time.
But because most of my photos are averagely exposed, and my editing rarely needs to be pushed to the extremes, shooting in JPG is good enough.
That being said – if I were to take a photo of a beautiful landscape, where detail and colour in the darker areas need to be preserved just as well as the detail and colour in the brighter areas, I would shoot RAW, on my professional Nikon camera.
|
|
Although the iPhone can shoot on RAW, the iPhone is still using a very tiny camera sensor compared to the sensor I have on my Nikon camera.
A RAW file on an iPhone is never as good as a RAW file on my Nikon camera, because my Nikon has a physically larger camera sensor.
So yes, an iPhone RAW file is better than an iPhone JPG file, but the quality improvement is quite minimal.
It doesn’t really make a big enough difference for me.
|
|
If you’ve been following my iPhone photography content for the last several years, ALL of it has been shot on iPhone JPG.
Proof that iPhone photography can hold up really well without shooting on RAW.
Because at the end of the day, the iPhone camera’s top perk isn’t that it’s the BEST camera out there.
(It’s not. Lots of Nikon and Canon cameras blow it out of the water.)
If I’m going to print enlargements from my trip to Zion National park, I will use the RAW photos from my Nikon over the iPhone photos I shot. Obviously.
|
|
But what makes me still use the iPhone camera?
It’s the most convenient camera out there. It makes me a more proficient photographer, practicing and creating more photos than I otherwise would.
And that’s growth.
Out of that comes better photos: both on my Nikon and iPhone. 🙂
PS: Got a photography related question? E-mail me! I’m happy to hear from you. Questions I receive from my readers often turn into blog content, like this one.