If you ever get the chance to see the Northern Lights, you’ll definitely want to take photos of the stunning display of colours!
The great news is that modern iPhone cameras are powerful enough to photograph the Aurora Borealis—you just need to know the right settings and techniques. In this blog post, I’ll show you how to photograph the Northern Lights with your iPhone, from camera setup to editing tips, so you can take photos of one of the most remarkable atmospheric events on the planet.

To take good photos of the Northern Lights with your iPhone camera, you will need:
1. A good iPhone tripod.

I have the KraftGeek magnetic tripod with bluetooth remote. I’ve tried many tripods and this one has by far solved all my frustrations with using tripods. It’s quick to set up, the camera magnetically clips on into perfect, sturdy position and it comes with a bluetooth remote (essential for night time photography). Get yours using my discount (affiliate link) here.
2. An iPhone camera in Night Mode
I have a regular iPhone 14 and I used the regular 1x lens for these photos. Don’t forget to wipe the lens clean for clearer photos!
3. A dark, open area on a night with active aurora borealis.
I went to Birds Hill Park which is just outside Winnipeg’s city limits, away from light pollution.

How to take Northern Lights photos with your iPhone camera:
1. Attach your iPhone to your tripod in an open area away from city lights.

The KraftGeek tripod is super user friendly, making it easy to set up even in pitch black darkness.
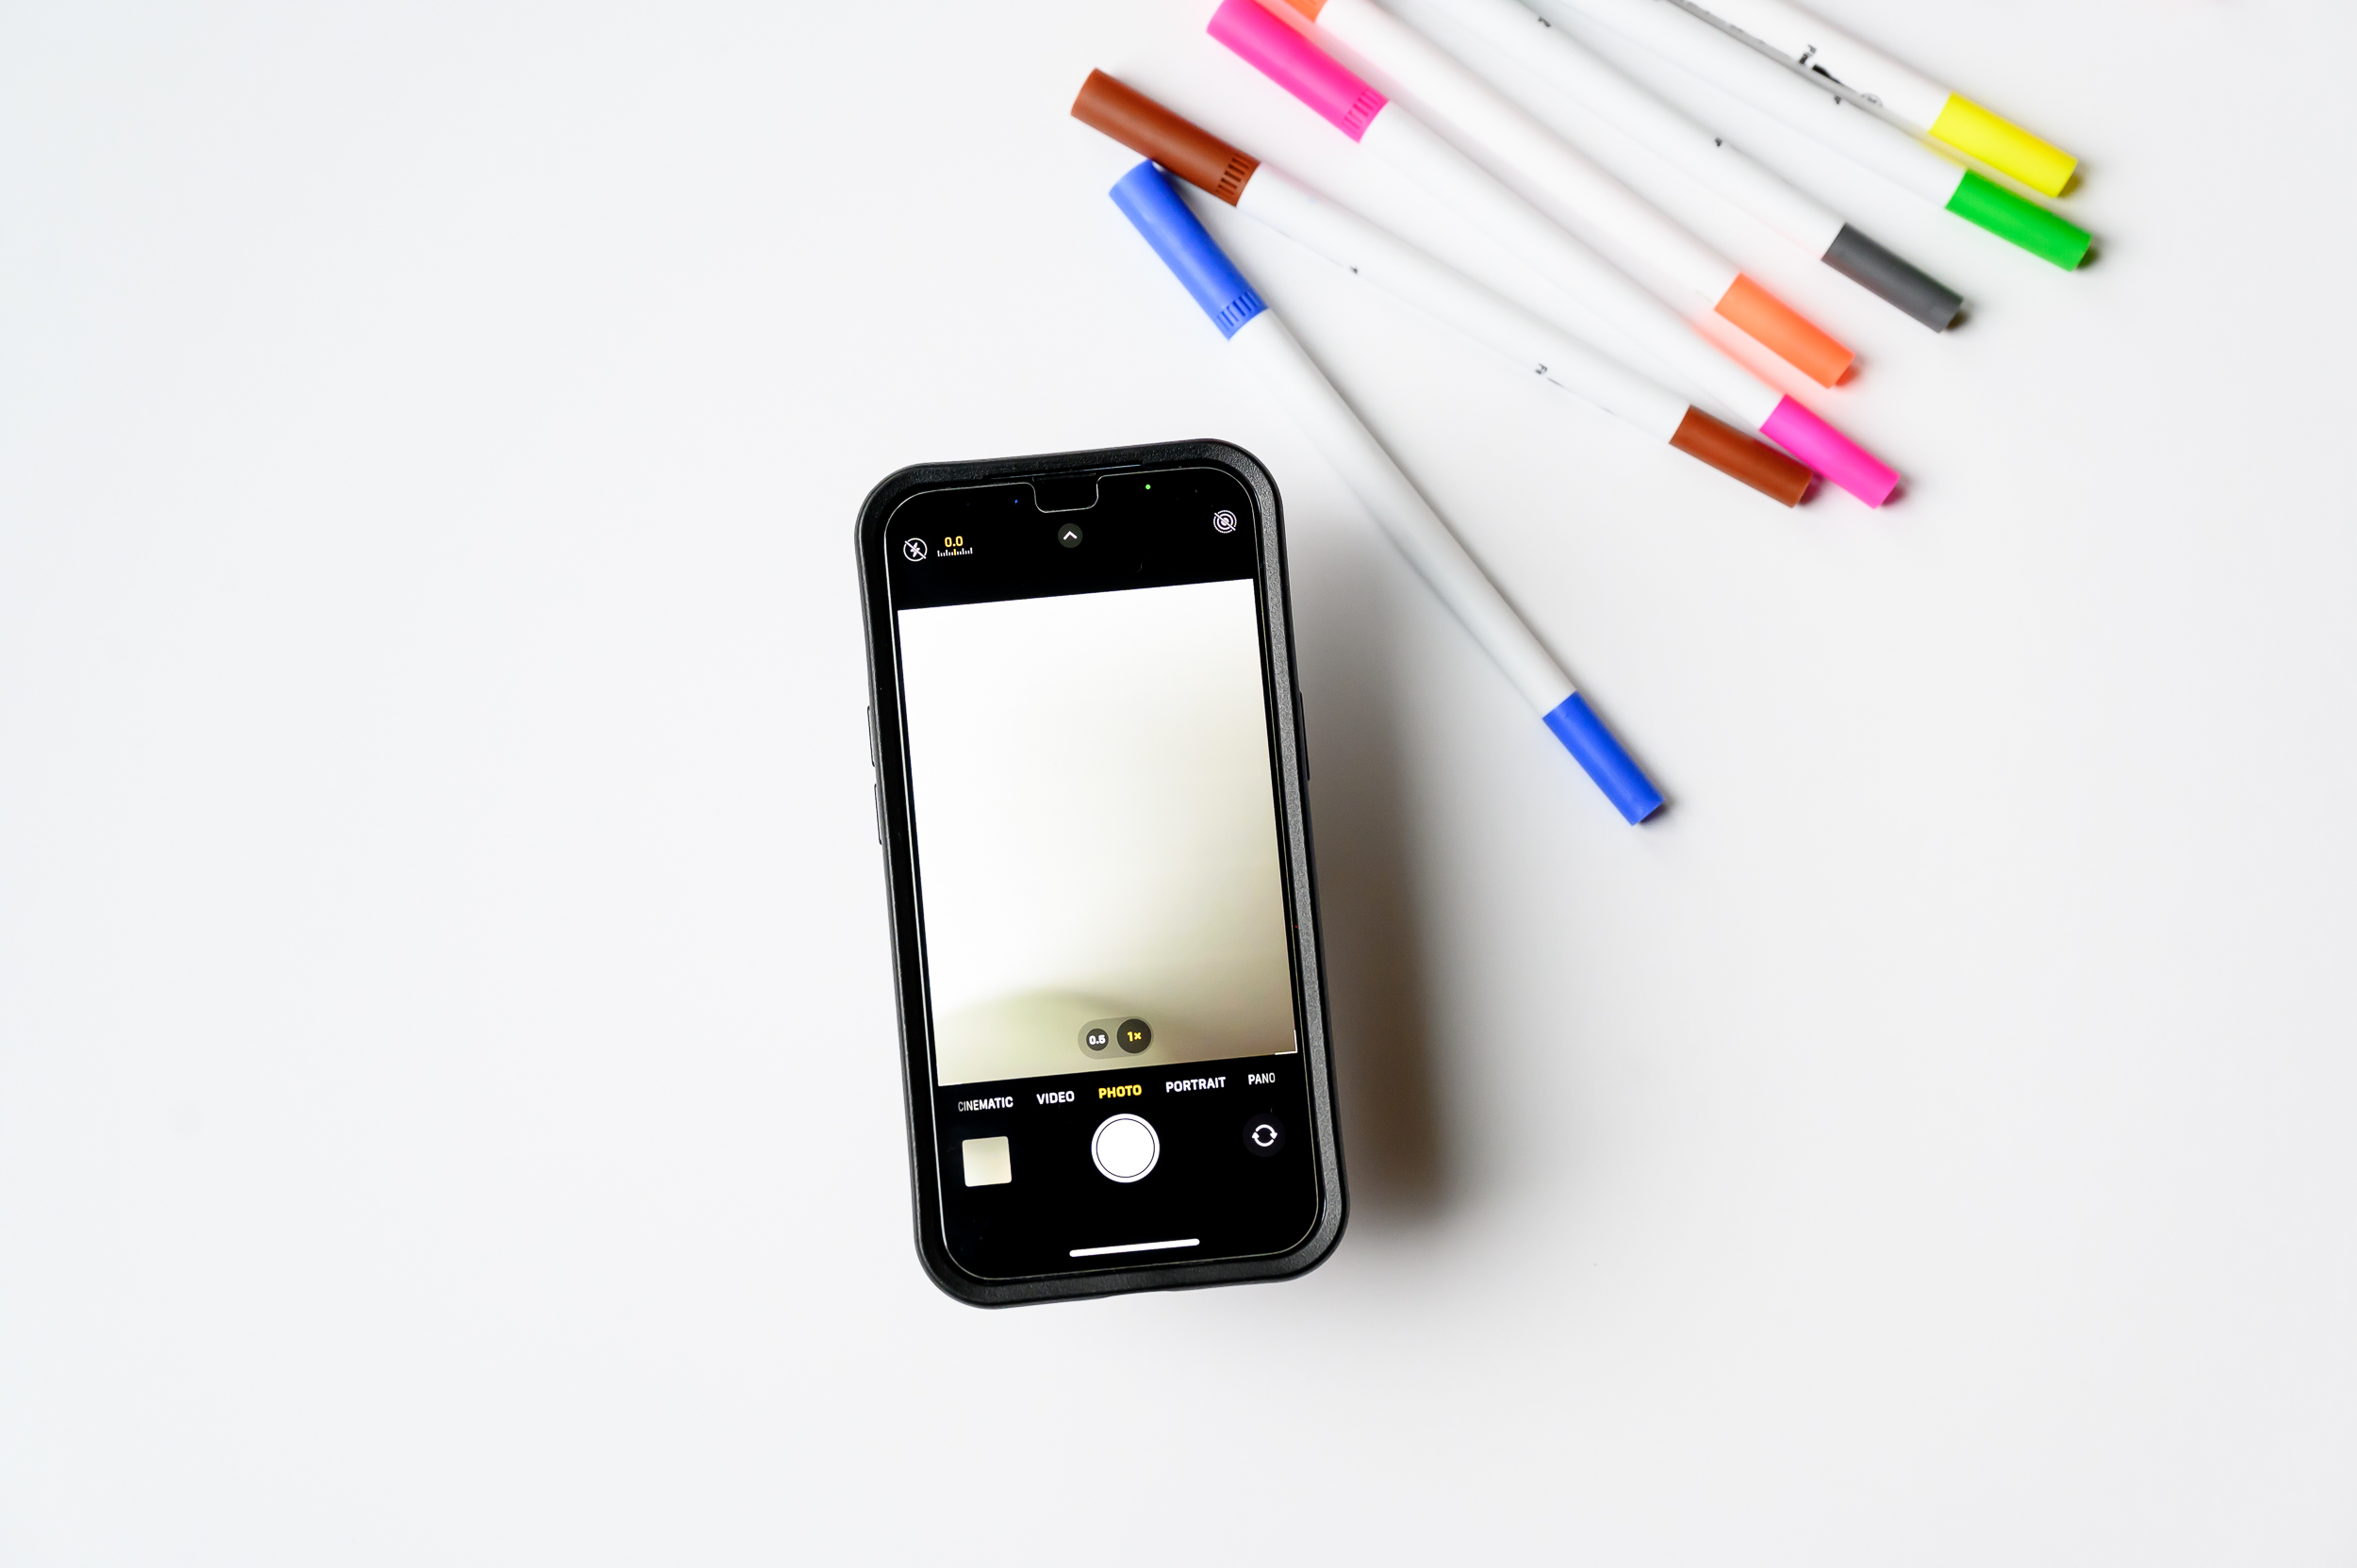
2. Open your iPhone camera.
Click the arrow at the top of your camera screen, then click on the night mode icon at the bottom of the screen:

3. Scroll all the way to Max (it’ll go up to 30s if it’s really dark outside).

4. Turn on your bluetooth remote. Make sure your iPhone’s bluetooth is connected to the KraftGeek remote. Then press and hold the KraftGeek remote button until the green light turns on.
5. Click the KraftGeek remote button once – this will trigger the camera shutter. If your Max is 30s, the camera shutter will be open for 30 seconds. Do not touch your iPhone camera during these 30 seconds! Any camera shake or wobble on the tripod will create a blurry photo.

6. After the 30 seconds is up, the photo is taken!
7. Open that photo in Lightroom Mobile and edit it to make the colours and contrast pop.

Here are the Lightroom editing settings I used:
Contrast +70
Highlights -43
Shadows +43
Whites -55
Blacks -67
Saturation +6
Clarity +37
Sharpening +86
Noise Reduction +100
And that’s it! You’ve now taken a successful slow shutter photo of the Northern Lights with your iPhone camera.

The reason the Northern Lights are showing up so much brighter in your photos than what you see with the naked eye is because the camera was open for several seconds, allowing the light to be absorbed and recorded for a much longer period. This results in brighter, more colourful photos. The human eye doesn’t see colour well in the dark (compared to when it’s bright outside). But the camera sees colour really well even at night, resulting in stunning photos of the Northern Lights.
Think of the possibilities… if you can take photos of the Northern Lights at night, you can also take photos of the starry night sky with your iPhone too! I have a step-by-step instructions here.
Have fun!


Ready to unlock the potential of your phone camera? Join me for a live photography workshop on Zoom in January.
Reserve your spot here!