Ok, let’s talk about why your iPhone photos look so bad.
To watch the full tutorial video, click here.
I promise you, it’s not the camera.
It’s how you’re using the camera. The good news is, it’s very easy to improve your iPhone photography.
Here are the 7 most common phone photography mistakes and how to fix them:
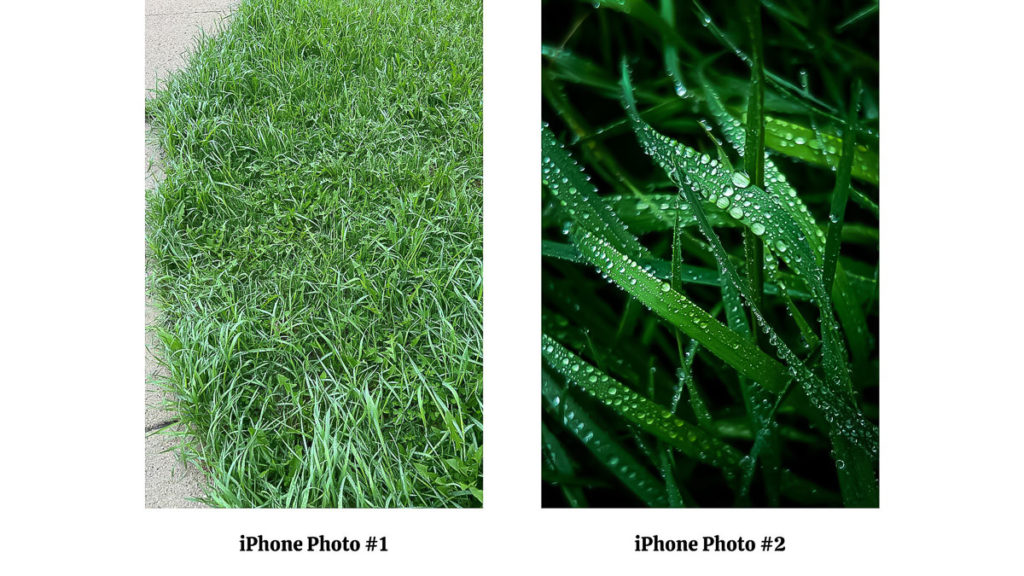
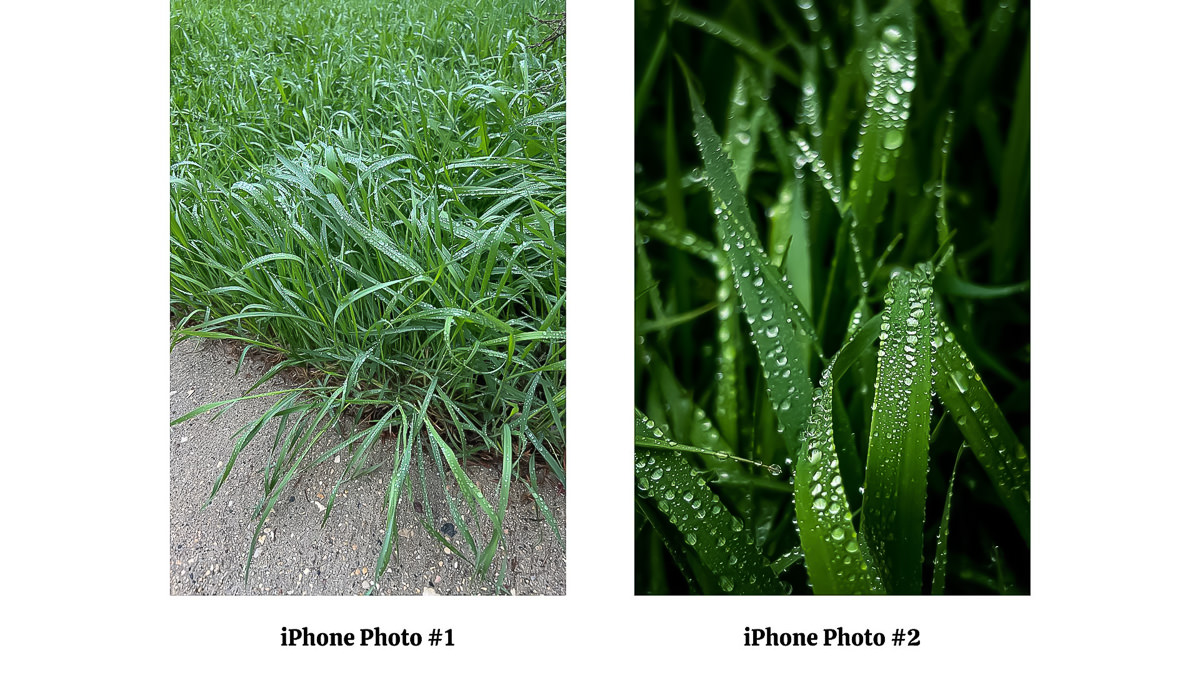
1) You’re too far away!
Get close. Fill the frame.
2) You’re not appointing a primary subject.
Once you’ve filled the frame, decide what part of the frame (a subject) should be the main focus. Once you identify a primary subject, you can start building a good photo.
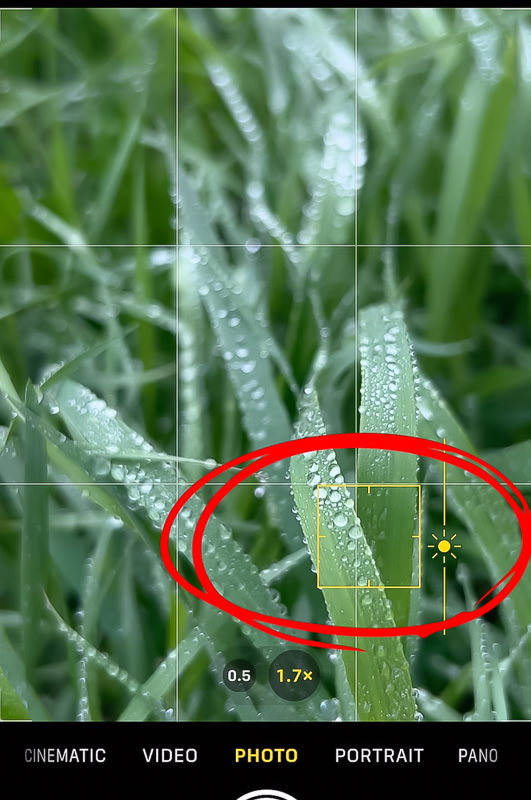
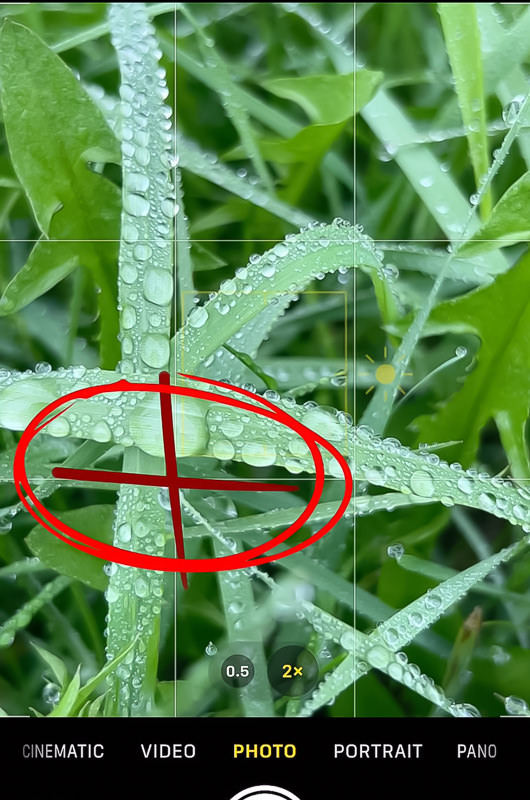
3) You’re not using the rule of thirds.
Place your main subject on one of the intersecting lines of the grid. Your photo will be much more balanced and the human eye will be more drawn to your photo when you apply the rule of thirds.
4) You’re not using focus & depth of field to build a visually stunning photo.
What is depth of field? This is the space in your photo where everything is in focus. The closer you get the camera to the subject, the more the background will be blurry behind the subject. If you stand too far away, everything will appear in focus, and it makes for a less interesting photo. Get close to your subject, tap on the subject on your screen to make sure your camera focuses on your main subject. Watch the rest of the images go blurry. This will help make your main subject pop.

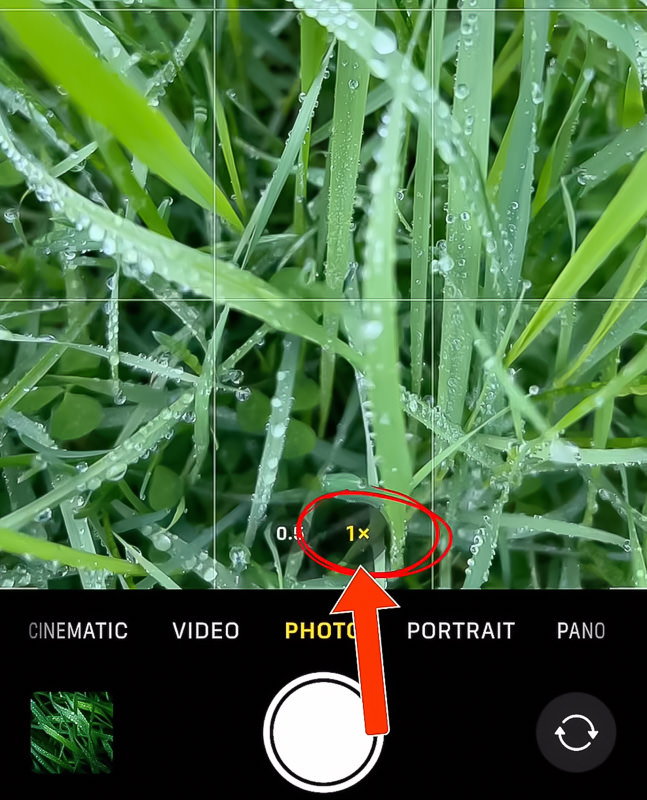
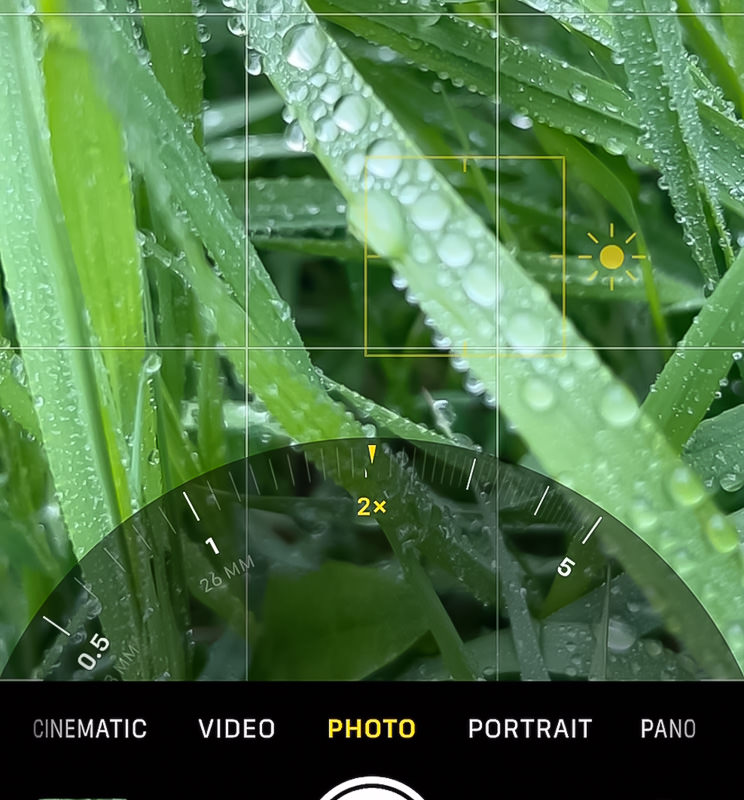
5) You’re shooting with the main, wide angle camera.
Instead, try zooming in a bit. Zooming in will make your background even blurrier, will eliminate more background distractions, and will help to make your main subject stand out more. Careful not to zoom in too much, as digital zooming does degrade your photo to a certain extent (one of the down sides to a phone camera lens).
6) You’re using unflattering light.
If I want to really capture detail and texture and good colour, I avoid shooting in direct sunlight, or in a mix of harsh sun and dark shadows. Instead, I look for a subject that is in full, smooth shade. Or, I shoot under a cloudy, overcast sky. This gives smooth, even lighting and makes your photos much nicer to work with.
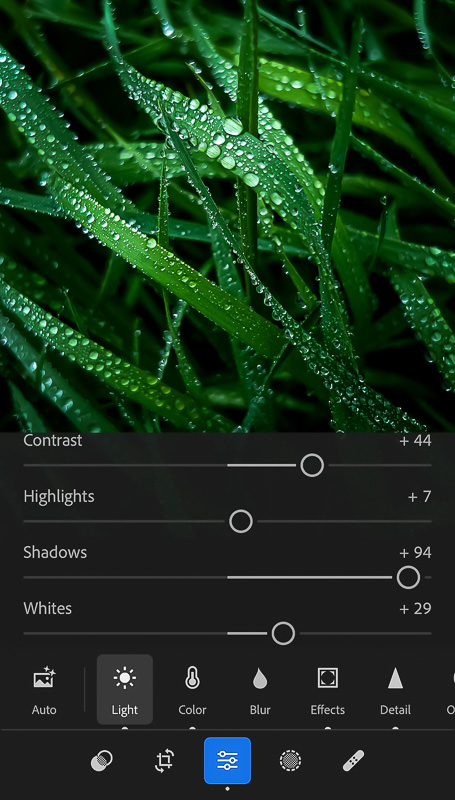
7) You’re sharing your photos straight out of camera.
You’ve got to edit them first! Bring them into Lightroom Mobile and apply some contrast, texture, clarity, adjust the colours, add some vignetting, and increase sharpening and noise reduction. Your photos will look so much better after they’ve been edited.
There you go, 7 things you need to do to get better results out of your phone photography. To recap:
1) Get close.
2) Appoint a main subject.
3) Use the rule of thirds.
4) Make the background blurry.
5) Zoom in a bit.
6) Use soft light.
7) Edit your photos in Lightroom Mobile.
To watch the full tutorial video, click here.
To learn more, join my Patreon and subscribe to my newsletter:


Disclosure: I only endorse Adobe products I’ve personally used. If you purchase any products using my referral links, I may get a small commission. However, there is no extra cost to you.